Photographing Autumn Woodlands: A Seasonal Guide to Color, Fog, and Wet Leaves
Every October, the same thing happens to anyone who spends time in a wood with a camera. The color arrives, the light turns low and buttery, and then half the forest ends up looking like a bright orange wall with no way in. The difference between a forgettable autumn frame and one worth printing rarely comes down to gear. It comes down to when you go, what weather you're willing to stand in, and how you use the small details at your feet.
This guide is about working the season deliberately: reading the color progression, finding fog before the sun burns it off, and treating rain and wet leaves as material rather than as a reason to stay home.
Plan Around the Tree, Not the Calendar
"Peak foliage" is a useful headline and a poor shooting schedule. Color moves through a woodland unevenly, and the most interesting weeks are usually the shoulders, when species disagree with each other.
Learn the local order of the turning. In mixed woods, birches and maples typically go early, ash and beech follow, and oaks tend to hold longer before turning bronze. That staggered timing gives you contrast — a single yellow birch standing in a stand of dark spruce is a photograph; a uniform wall of gold is harder to work with. Build your season around that show of difference rather than the single most saturated weekend.
Scout in poor light. Walk your local wood in flat, grey conditions when nothing is worth shooting, and take notes on where the color is changing. Pin a few locations on your phone, photograph the ground under a promising tree, and return when the light or weather improves. Two or three short scouting walks will do more for your autumn work than a longer trip to an unfamiliar forest.
Light: The Narrow Window That Makes Leaves Sing
Autumn canopies are built for backlight. Leaves transmit light, and the same maple leaf that looks dull and heavy from below glows when the sun is behind it. Look for gaps in the canopy where low sun cuts through and position yourself so leaves sit between you and the light. Long lenses help here: a 70–200mm lets you isolate one branch in a shaft of light instead of framing an unreadable mass of foliage.
Overcast is the second useful light, and most photographers give it up too quickly. Under cloud, the forest becomes a soft box. Wet leaves hold saturated color, the shadows lift, and contrast stays manageable. The trick is to avoid including a blank white sky. Shoot downward at leaf litter, or compress a stand of trunks with a longer lens so the frame is filled with trees rather than clouds.
Hard midday sun is the harder condition, and it usually calls for looking up or looking down: photograph the canopy backlit against a deep blue sky, or get close to the forest floor where small subjects sit in shade. Keep the histogram visible. Bright skies behind a canopy pull your meter down, so meter for the leaves rather than letting the camera average the scene, and check that your highlights matter more than your shadows.
Fog Is a Forecast, Not a Gift
Fog is more predictable than most people assume. It forms when moist air cools to the point where it can't hold its moisture, which in practice means you want humidity, a clear night, and air that drops close to the dew point by dawn. Woodlands near a lake, river, or bog do this well. After a day of rain, a calm clear night that follows is a good reason to set an alarm.
Arrive early and be patient. Fog thickens before sunrise and often thins within twenty minutes once the sun touches it. Photograph in that first interval: subjects at a distance soften into shapes, and layers read as separate planes of tone.
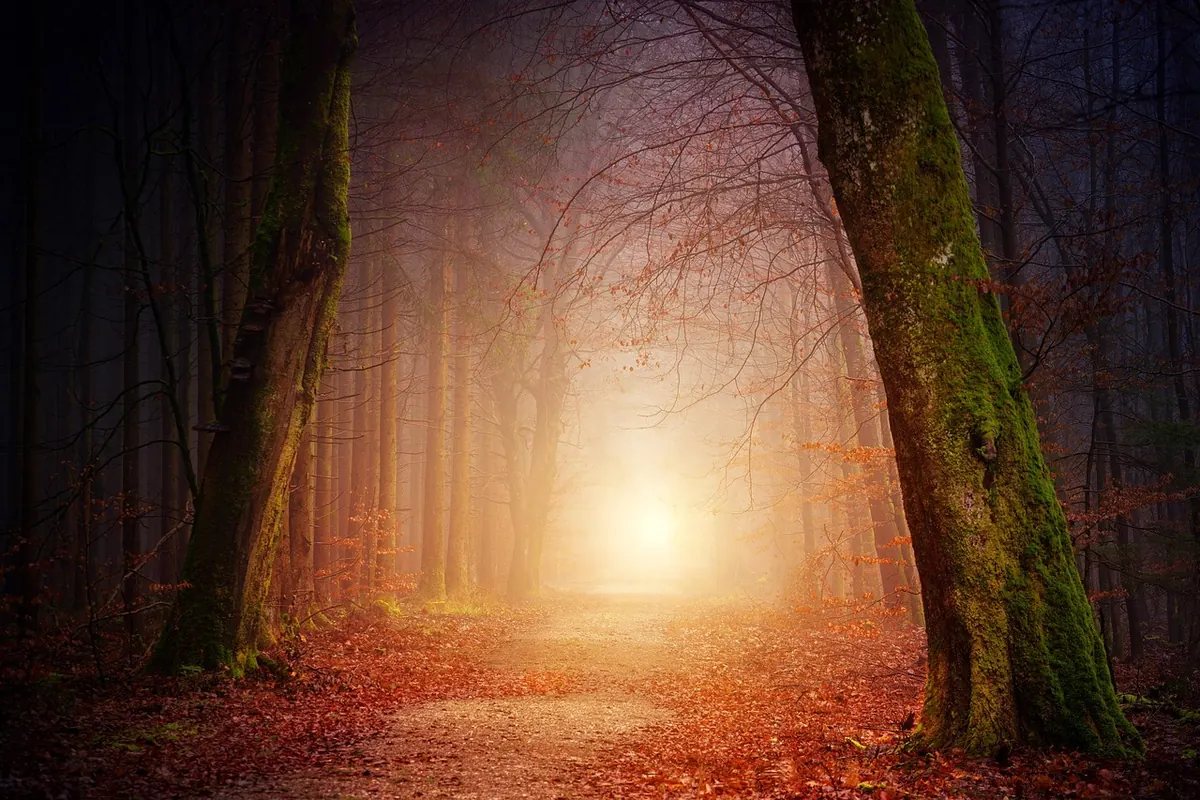
Metering needs care. Fog fooled into grey is just an average exposure; good fog has a bright, luminous center. Meter off a mid-tone in the scene — a shaded trunk, a patch of moss — and check the histogram, letting the brightest mist sit high but not clipped. If in doubt, bracket by a third of a stop and choose later. Compose for depth: a strong foreground trunk or a path entering the frame gives the eye somewhere to start in a scene with very little contrast.
Rain and Wet Leaves: Texture, Color, and Reflection
Wet leaves are the richest material autumn offers, and rain is what makes them wet. Once the surface water sits on the leaf, color deepens, texture appears, and reflections become a compositional tool.
A polarizing filter is your most useful accessory here, but use it with intention. Rotating it cuts the sheen on wet foliage, revealing color and detail underneath. Sometimes you want the opposite — the bright specular glints that read as "wet" in a finished frame. Rotate slowly and watch the viewfinder rather than defaulting to maximum polarization on every shot.
Timing matters too. Immediately after rain, bark and stone darken while moss and lichen brighten, which creates natural separation. In a light drizzle, you can often shoot under a canopy with nothing more than a lens hood and a cloth, and the soft light stays consistent for an hour. Keep a dry cloth in a pocket, not in your bag, and check the front element every few frames — a single smudge turns into visible haze when you shoot toward a bright sky.
Shutter speed controls how water reads. Fast speeds around 1/250 sec freeze drops on leaves; slower speeds around 1/15 sec turn falling water and moving branches into soft streaks, which usually needs a tripod and the shutter delay or self-timer to keep the frame sharp.
Composition in Woodland Clutter
Forests fail most often through excess. Too many trunks, too many branches, no subject. The fix is editorial: decide what the picture is about before you set the tripod.
- Pick one subject — a single tree, a leaf-covered stone, a flight of steps — and let everything else support it.
- Layer the frame with a near, middle, and far element so the image has depth even in flat light.
- Get low for leaf litter and fungi; eye-level with the forest floor changes the whole feel of a scene.
- Aim up with a wide lens for canopy patterns, keeping the trunk vertical as an anchor.
- Use a path or stream as a line into the frame rather than placing it dead center.
- Shoot vertical when the trees are vertical; a portrait crop often suits birches and beeches better than a wide landscape frame.
Work each location properly before moving on. Set the tripod, make a safe wide frame, then step closer and make three more. The third or fourth version of a scene is usually better than the first.
Practical Notes Before You Go
Autumn mornings are cold and damp, so dress warmer than the forecast suggests and carry gloves you can shoot in. Bring a microfibre cloth, a spare battery kept in an inside pocket where it stays warm, and a plastic bag for the camera if rain sets in. Let cold gear acclimatise inside before you review images, or condensation will fog the sensor and the rear screen. Waterproof boots matter more than a waterproof bag: dry feet mean you stay out longer.
The Short Version
Go early, go often, and don't wait for perfect weather. Watch the color move through the wood, keep returning to two or three places you know well, and treat fog, rain, and wet leaves as the conditions that give an autumn forest its character. On your next damp morning, take one wide frame for context and one close frame for texture — then compare them at home and see which one you actually want to print.
Photo: jplenio / Pixabay