First Sunrise Landscape Shoot: A Complete Beginner's Checklist
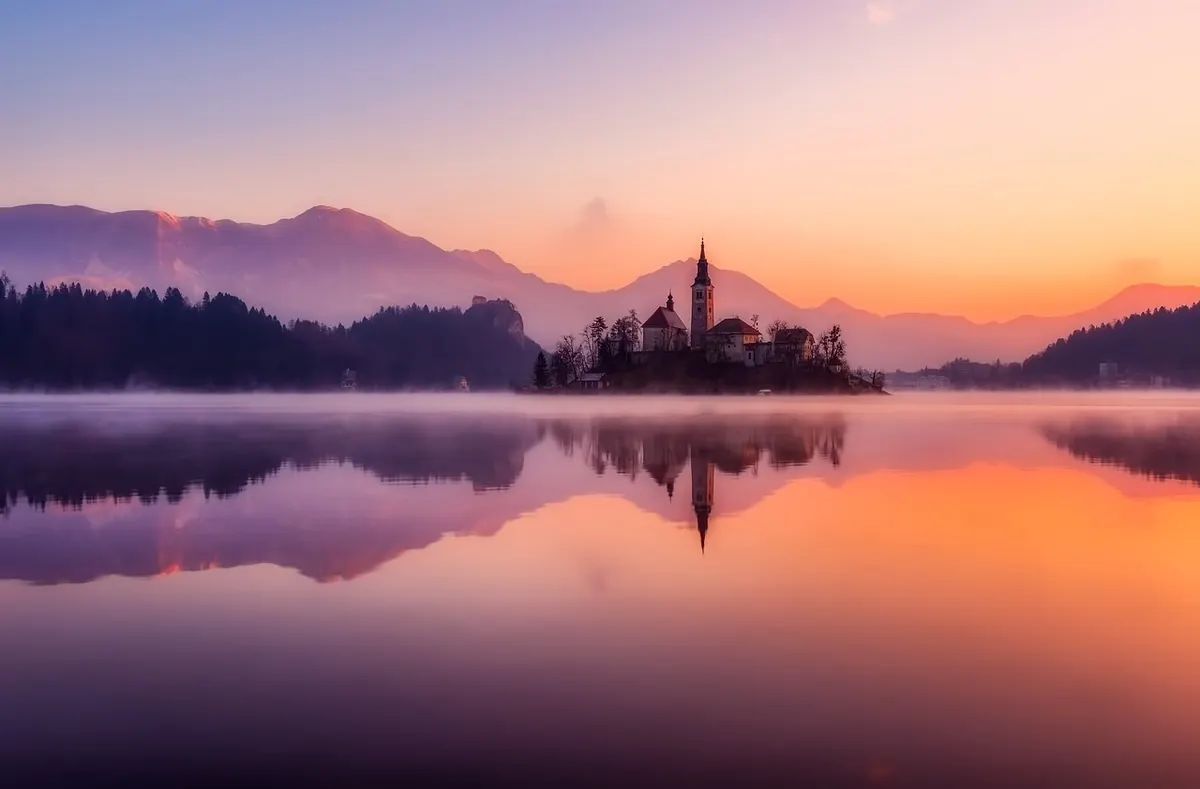
Sunrise rewards the people who arrive early and unprepared types rarely get a second chance. The light lasts twelve minutes, maybe less, and it is not coming back until tomorrow. That is the whole appeal: a narrow window, a specific place, and a photographer who thought about both the night before. This checklist walks through what to sort out before you sleep and what to do once you are standing in the dark with a tripod, from the first scout to the last frame after the sun clears the horizon.
Scout the Location Before You Sleep
Do this in daylight if you can. Drive to the spot, walk the path, and note where you can legally park, which gate opens when, and how long the walk actually takes with a bag on your back. Discovering at 5:20am that the car park barrier is locked is a hard way to learn that lesson.
Then work out where the sun will rise relative to the scene. A compass, a sun-position app, or even a paper map with sunrise bearings marked will do. Remember that the sunrise point shifts through the year, so the direction in March is not the direction in September. If a ridge blocks the southeast, plan around it rather than hoping.
Choose two compositions in advance: one wide establishing frame and one tighter shot with a strong foreground. A rock, a path, a jetty, a lone tree — something that gives the viewer a place to stand. Having a fallback means you are not improvising while the colour peaks.
Read the Sky, Not Just the Forecast
Weather apps are useful, but the numbers matter more than the icons. Full overcast tends to flatten everything into grey. A completely clear sky gives clean, cold light that changes fast and can look sterile by six o'clock. Broken cloud at middle altitude is what you want: enough texture for the light to catch and paint.
Check wind, too. A still morning means mirror reflections in lakes and wet sand; a stiff breeze means ripples and moving branches, which changes your shutter speed decisions. If rain is forecast the night before, consider it an opportunity — wet ground, puddles, and mist in valleys are often better than a dry, plain dawn.
Look at the forecast the evening before and again when you wake up. Predictions move overnight. And accept that the sky will do what it wants; the trip is worth making even when the odds look mediocre, because the marginal mornings sometimes deliver the strangest, best light.
Pack the Night Before
Lay everything out while you are awake enough to think. A bag packed at 4:40am in a dark hallway will be missing something.
- Camera body with a freshly formatted memory card, plus a spare card.
- At least two batteries. Cold air drains them faster than you expect; keep the spare in an inside pocket.
- Tripod with the quick-release plate already attached to the camera.
- A wide-to-standard lens, and a second lens only if you know you will use it.
- Lens cloth and a small blower. Dawn air is damp, and condensation on the front element ruins more frames than bad exposure does.
- Headlamp with a red-light mode, so you can see your settings without blinding yourself or anyone else.
- Gloves thin enough to turn a dial, plus a warmer pair over the top.
- Layers, a flask, and something to sit on if the ground is wet.
- Charged phone and a power bank.
- A plastic bag or rain cover, even on a dry forecast.
Organise the bag so it works in the dark: filters in one pocket, batteries in another, nothing loose at the bottom. If you can find your remote release by touch, you will not need to take your gloves off at the worst possible moment.
Set the Camera Before You Leave the Car
Configure as much as possible in the warm, lit space of the car. Standing in the cold fiddling with menus is how people miss the first colour.
A sensible starting point
Shoot RAW, manual mode, ISO 100, aperture between f/8 and f/11 for corner-to-corner sharpness, and let the shutter speed follow. On a tripod you can afford a slow exposure, so use a two-second timer or a remote release rather than jabbing the button. If your camera has an electronic first curtain or a mirror-lockup option, use it.
Protect the highlights
Sunrise means a bright sky and a dark foreground, often five or six stops apart. Meter for the scene but watch the histogram: if the sky is clipping on the right edge, shorten the exposure until it is not. Shadow detail can usually be lifted from a RAW file; blown highlight detail is gone. Exposure bracketing — three frames at one-stop intervals — is a simple insurance policy while you learn.
Focus deliberately
Autofocus hunts in low light. Switch to live view, magnify on a distant contrasty edge such as a ridgeline or a lit window, focus manually, and then leave the ring alone. Turn off stabilisation when the camera is on the tripod. Set white balance to daylight or auto and fix it later; do not waste the good light on that decision.
The First Fifteen Minutes on Location
Aim to arrive around forty minutes before sunrise. The blue hour before that is not dead time — it is when the sky goes deep and saturated and the lights of a town still glow. Set the tripod up carefully, hang your bag on the hook for stability, and make a few test frames so that your hands know the camera before the pressure is on.
Then, once the colour starts, remember to turn around. Some of the best sunrise frames face away from the sun, where low light rakes across the landscape and side-lights the foreground. Also resist the urge to review every shot on the back screen; check the histogram once, trust it, and keep shooting.
If you need to change lenses, do it before the sun breaks the horizon. Sunlight hitting the front element brings flare and reveals dust you did not know you had.
Stay Safe and Warm in the Dark
Tell someone where you are going and when you expect to be back, and message them when you are safely out. Park considerately and, where possible, somewhere visible. Use the headlamp, walk at a pace that suits the footing, and keep well back from cliff edges, wet rock, and slippery shoreline stones — dawn is exactly when a stumble is hardest to recover from.
On the coast, check the tide as carefully as you check the sunrise time. A beach that was walkable at 5am can be cut off by 6:30. In cold months, layer up and keep moving between shots; when you return to a warm car, leave the camera in its bag for a while so condensation forms on the outside of the bag rather than on your lens.
After the Sun Is Up
Stay twenty minutes past sunrise. The warm side-light that follows is often more useful than the actual event, and most people have already left. When you pack up, note the two or three things you would do differently — arrive from the other side, bring the longer lens, wear the thicker socks — and write them down before the details fade.
Back home, copy the files to two places the same day, clean the front element, and let the gear dry fully before you put it away. The first sunrise is mostly a logistics exercise. Get the logistics right once and the photography gets the attention it deserves next time.
Photo: 12019 / Pixabay