Five Portrait Posing Mistakes That Make Subjects Look Stiff and How to Fix Them
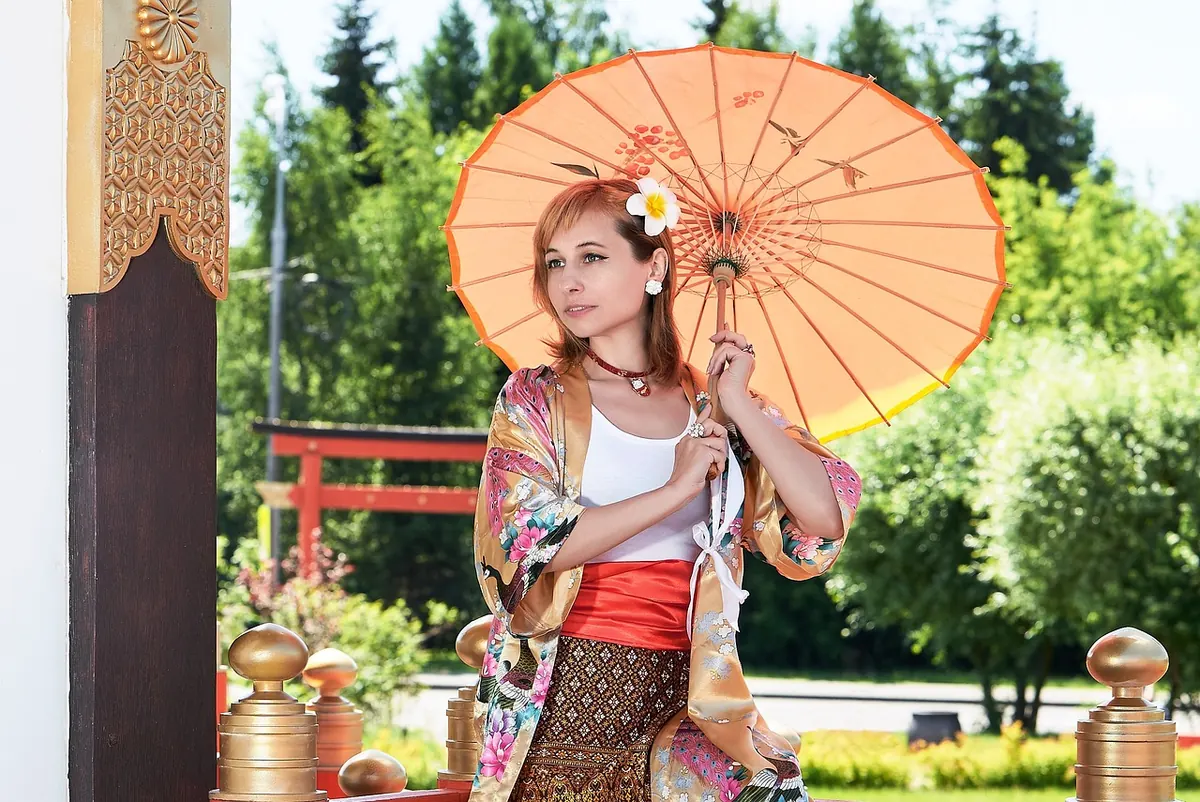
Watch someone step in front of a camera and the same thing usually happens. Shoulders square to the lens. Arms drop and press against the body. Weight lands evenly on both feet. Then a smile arrives on cue, holds, and slowly tightens into something closer to a wince. It isn't the subject's fault. Standing still while being looked at is not a situation human bodies are built for, so nearly everyone defaults to the same defensive posture — and that posture reads as stiff. The encouraging part is that stiffness is almost never about the person in the frame. It's about what happened, or didn't, before you pressed the shutter. Here are five of the most common posing mistakes, and the in-camera fixes that work on the next frame.
Square Shoulders Facing the Lens
When a subject stands directly square to the camera, their shoulders form a flat horizontal line across the frame. The body loses depth, the waist disappears, and the upper arms press into the torso, making them look wider than they are. It reads as a passport photo rather than a portrait.
The fix takes one instruction: "Turn your body slowly to your left until you're almost side-on, then bring your face back to me." Ask them to pivot on the back foot so the hips and knees travel with the shoulders. If only the shoulders turn, you get a twisted torso and a strained neck that no amount of retouching will settle. Once the body is angled, the shoulders drop, the waist narrows, and the arms fall into a more relaxed position almost by themselves.
For tight headshots you don't need that much rotation — 15 to 20 degrees is enough to break the flat line while keeping the subject connected to the lens. Seated poses follow the same logic: angle the knees away from the camera instead of pointing them straight at it.
Arms Pinned to the Body and Hands with Nothing to Do
Ask someone to stand and they will let their arms hang with palms against their thighs. That's the body's rest position, and in a photograph it looks like a lineup. Hands are the hardest part of a portrait because most people have no idea what to do with them once they know they're being watched.
Give each hand a job, and keep one hand busy while the other stays quiet. Options that work for almost anyone:
- One hand in a pocket, thumb hooked over the seam
- Hand on the hip with a relaxed wrist and the elbow pointing down and slightly away
- Fingers loosely holding a jacket lapel, a scarf, a cup, or a hat
- A hand lifted to push hair back, held there for a beat longer than feels natural
- Hands clasped in front, but with the elbows lifted a few inches so there's daylight between arm and torso
Whatever you choose, keep a gap between the upper arm and the ribcage. Pressed arms look tense and add bulk. Watch the elbows as well: one pointed straight at the lens becomes a sharp, distracting triangle, so roll it down or back. Then check the fingers — relaxed and slightly curved, never splayed flat or gripping hard enough to turn the knuckles pale.
Weight Spread Evenly on Both Feet
Even weight, locked knees, straight spine: that's attention posture, and the body reads it as waiting for inspection. Ask your subject to shift their weight onto the back foot and let the front knee soften. The hips tip slightly, the shoulders follow, and the whole silhouette changes shape without anyone having to "pose".
Giving the body something to lean on works even better — a wall, a doorframe, a railing, the back of a chair. A body with support stops performing and starts resting. For seated portraits, have them sit near the edge of the seat and lean forward onto their forearms, or settle their weight onto one hip rather than distributing it evenly.
If the stance still looks frozen, ask them to take two steps toward you and stop. Shoot as they arrive, not after they've settled. The arrival frame almost always has more life in it than the one that follows.
Chin and Neck Angles That Create Tension
Chins go wrong in both directions. Tilted up, the subject appears to look down at the viewer, and the neck stretches into a strained column. Tucked too far, the neck compresses and a soft shadow settles under the jaw. People also tend to retract the chin backward when told to lower it, which creates the exact problem you were trying to avoid.
The reliable cue isn't "chin down" but "push your forehead toward me." The head moves forward, the chin drops slightly on its own, and the neck stays long. Pair it with a second cue: imagine a string lifting the crown of the head. Those two together fix most chin and neck issues faster than any amount of manual adjusting.
Camera height matters here too. Slightly above eye level is generally flattering, but if you climb too high you end up photographing the top of someone's head and forcing their chin up to meet you. For most portraits, the lens should sit between the subject's eye line and a hand's width above it.
Directing with Words Instead of Movement
Words don't translate into posture quickly. Tell someone to "lean against the wall, relax, and look natural" and you'll watch them hesitate, guess, and land somewhere stiffer than where they started. Show them instead. Take the pose yourself, hold it long enough for them to read the shape, then hand it back. It's faster and far clearer than three sentences of description.
Prompts beat poses. A pose is a shape someone has to hold; a prompt is something to do while you shoot.
Walk toward me and tell me about the last thing that made you laugh.
Set the camera to continuous drive and keep talking while they move. The frame right after the smile you asked for is often the one that looks real — the second they decide the photo is over, their face stops managing itself.
The other half of this mistake is leaving someone in position while you check the screen, swap a lens, or adjust a setting. Thirty seconds in a fixed pose and every muscle starts looking like it's waiting for permission to move. Set up first. Direct second. Shoot third.
A Two-Minute Check Before You Press the Shutter
Run through this list on every setup until it becomes automatic:
- Is the body angled off-axis, or dead square to the lens?
- Is there visible space between the upper arm and the torso?
- Do the hands have a job, and are the fingers relaxed?
- Is the weight on one leg rather than split evenly?
- Where is the chin — and is the neck long rather than compressed?
- Has the subject been holding this exact position for more than a few seconds?
If the answer to that last question is yes, change something before you shoot again. Adjust a hand, ask for a small turn, give them a new prompt. Stiffness comes from stillness plus nothing to do, so the cure is nearly always motion and a specific, small instruction. Keep your directions short, demonstrate rather than describe, and shoot in the moment just after they think the picture has been taken. That's usually where the real expression lives.
Photo: Sunriseforever / Pixabay